What is Workbench?
Small language models, including LFMs, can be extremely powerful for a variety of tasks. Unlike bigger LLMs, however, they do require careful customization to achieve the best performance on a specific task. Workbench is a web-based tool for LFM customization, currently in open beta testing. Using Workbench, developers, solutions engineers, and domain experts can rapidly improve LFM performance on specific tasks. Currently, Workbench supports three key features:- Iterative prompt engineering to better guide models and improve response quality
- Custom data upload and generation
- Automated model evaluation and comparison across a variety of dimensions
Using Workbench
Getting started with Workbench is easy. Simply visit workbench.liquid.ai and sign in with your LEAP account to access the tool’s dashboard. From there, you can create a new evaluation session or choose from an example template.1. Describe your task
To create a new evaluation session, you’ll first need to provide a description of your task. The more detail you can provide about the task, the better - details such as data source and distribution, edge cases, input/output formats, etc. are all helpful.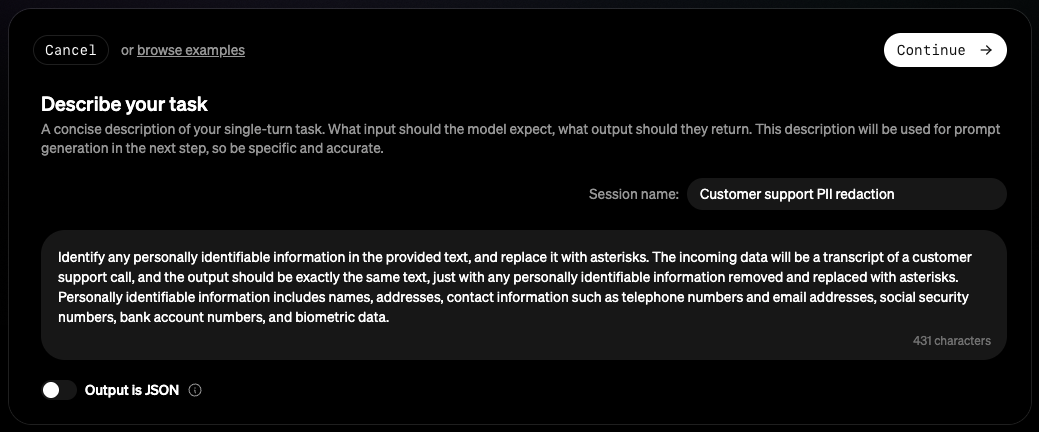
Continue to create the session.
2. Set up evaluation runs
After creating the session, you’ll be taken to the session dashboard. This page consists of two main sections: the prompt editor and the evaluation arena.Managing prompts
On the left-hand side of the dashboard, you’ll find the prompt editor. This is where you can edit both the system prompt and the user prompt that will be fed to the models during evaluation. The prompts will be automatically generated based on the task description you provided earlier, but you are welcome to make any manual adjustments that you’d like.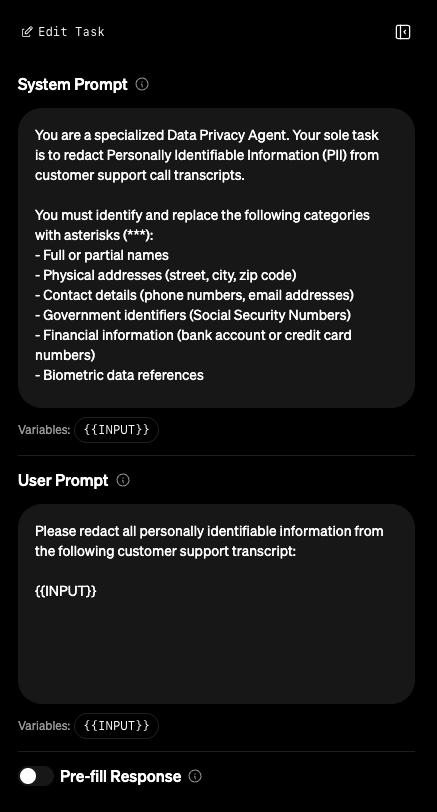
The “Pre-fill Response” option allows you to specify a prefix for every response generated by the model.
This can be helpful in guiding the model to respond in a specific way.
Adding data
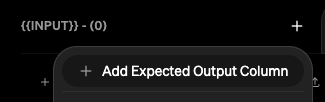
To the right of the prompt editor is the evaluation arena table. This is where the bulk of the work happens. This is where you can upload or enter input data, optionally provide output data, and compare model performance across a variety of dimensions.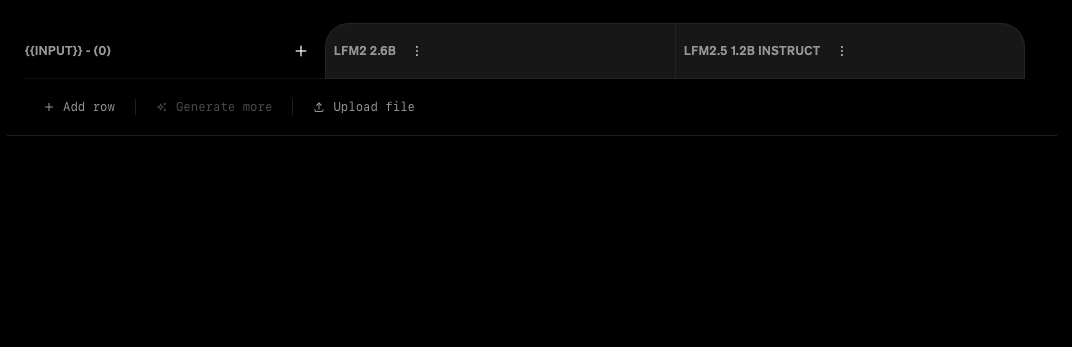
+ dropdown menu.
Choosing models
You can choose to compare up to three LFM models against each other in Workbench. If you’re unsure which models to choose, we recommend browsing the LEAP Model Library for descriptions of model strengths and weaknesses.Not all LFMs available in LEAP are currently available in Workbench. If there are particular models you wish to see added to Workbench, reach out and let us know!
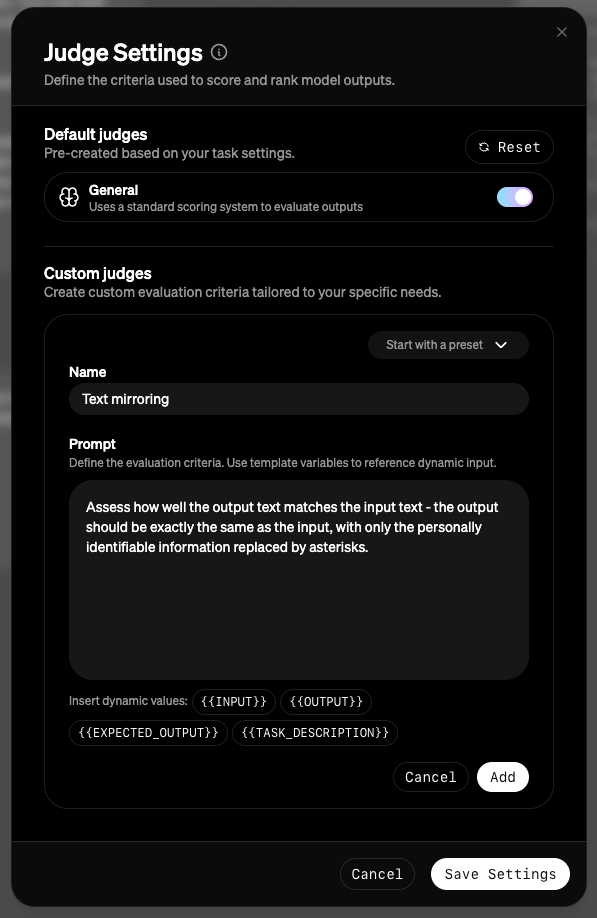
Modifying judges (optional)
A suite of AI judges will be used to evaluate each model’s performance. You can configure the evaluation judges by clicking theJudge button above the evaluation arena table.
3. Run evaluations
Once you have provided the platform with your evaluation data, you are ready to kick off your first evaluation run! During the evaluation, output will be generated by each model for all the input samples provided, and evaluated by the judges you’ve configured. Click theRun Evaluations button and wait for the results to appear - this may take a few minutes, depending on the size of your evaluation dataset.
4. Analyze results and iterate
Once your evaluation run is complete, you will see the results in the evaluation arena table. Each model will have an aggregate score, which is an average of the scores from each judge on each data sample. There will also be a winner model chosen for that round, based on the aggregate score. You can view detailed evaluation about specific model responses by clicking the score badge in the model response cell. Here you will see the input, raw model outputs, and scores and explanations from each judge.

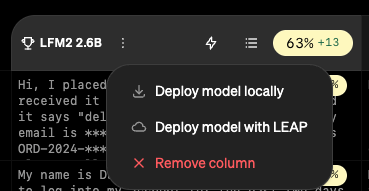
5. Deploy your model
Once you are satisfied with the performance of your best model, you can deploy it to your production environment of choice using the Edge SDK or one-click cloud deployments. Access your deployment options with the button in the top right corner of the dashboard.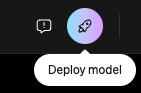
Additional features
Custom model upload
By default, Workbench has a set of pre-trained LFMs available for you to use. If you’d like to upload a custom model for usage within Workbench, you can do so within the Model Deployments page. Once uploaded and successfully deployed, your custom model will appear in the list of available models in the Workbench session dashboard. Using custom models enables you to use fine-tuned checkpoints or even other model architectures, provided they are exported in valid GGUF format.We currently only guarantee support of text-only LFM architectures within the platform. Non-LFM architectures may work, but are not officially supported.
Input data generation
In general, the more quality data you provide to Workbench, the more accurate the evaluation results will be. However, you may not always have access to higher amounts of quality data to use for evaluation. To help with this, Workbench supports synthetic data generation based on existing input data and variance factors that you define. To generate additional input samples, you must first have at least 5 samples in your dataset to begin with. Once you have at least 5 samples, you can click theGenerate more button at the bottom of the evaluation arena table.
Within the dialog that appears, you can then specify particular variance factors to apply to the generated data.

Organization management
When you log in to Workbench for the first time, you will automatically be added as a member of your own personal account. If you’d like to collaborate with others within an organization, you can create a new organization via the organization dropdown menu in the top left corner of the nav bar. You are able to name your organization, invite and manage other members, and collaborate with others on evaluation sessions. Sessions belong to the organization they are created in – to move a session to a different organization, choose the “Change organization” option in the session dropdown menu in the “Browse recent evaluations” table on the main dashboard page.Session sharing
New evaluation sessions are private by default, and only accessible to you as the creator and owner. You can change the session sharing settings by selecting “Share” from the session dropdown menu in the “Browse recent evaluations” table on the main dashboard page. Sessions can either be completely private (owner-only) or fully public (anyone with the link can access). Sessions within an organization will have an extra option for sharing only with other members of the organization. Note that sharing a session will provide full edit access to anyone with access – there are no granular permission settings for sessions yet.Concurrent collaboration is currently not supported.
Editing a session at the same time as a collaborator may result in unexpected behavior.
Please use caution when editing shared sessions.
Prompt version control
Workbench supports lightweight version control for both the system and user prompts. If you make changes to your prompts, you can access and revert to previous versions using the History icon above the prompt editor.
Statistics
As you use workbench and run multiple rounds of evaluations, Workbench logs the performance of each model over time and provides a breakdown of these results. To view these statistics, click theStats button above the evaluation arena table.
Model sampling parameters
In addition to the system prompt and user prompt, you can also specify the sampling parameters to use during model generation. To do so, click theModel Params button above the evaluation arena table.
This is considered advanced usage – the default sampling parameters are generally sufficient for most use cases.
The same sampling parameters are provided to all models in a session – there is currently no support for setting model-specific sampling parameters.